Facebook Page tabs give you the ability to extend your business tools into Facebook, such as newsletter sign ups, custom promotions, selling tools, etc.
Facebook is a social website [duh] so having a custom presence on the platform can be beneficial to your business, especially if your audience hangs out on Facebook, and likes to share your content.
Here’s an example of how AppSumo, a deal store for entrepreneurs, uses Facebook tabs.

The content on a tab page is basically raw HTML code you add, or an outside webpage you embed, or a simple image. The tab itself is just an image.
One simple effective use is to put a picture on a tab page, that links to a page on your website, where you have more control.
Ok, So it’s Useful, How Do You Make One?
Well, there seems to be two most used options.
The native Facebook way [hard], in which you use nothing but Facebook’s tools, and the Woobox way [easy], in which you use a third party Facebook app to create a tab for a Facebook Page you are the manager of.
Facebook’s method, unfortunately, isn’t for the faint of heart. It involves creating a Facebook application, enabling SSL on your website, and pasting in a unique URL to trigger the tab creation. As I don’t think it will serve many here, we’re going to skip that method all together, and instead explain the easy way!
Woobox
Woobox is the name of the company that created the Facebook app “Static Iframe Tab” and a few others like it, which you might not guess at first look, gives you an easy to follow process for creating a Facebook Page tab.
[pl_alertbox type=”info”]
NOTE: If this “installing apps” and “configuring settings” is a bit tricky for you, and you’d rather someone just make it all happen, get in touch and submit a request here.
[/pl_alertbox]
How To
Follow the steps below to create a Facebook tab, and check out the video to see how it’s done live. The tab creation process only takes about 5 minutes, but creating the tab page’s content, and the tab’s image can take much longer depending on your situation.
- Log into Facebook
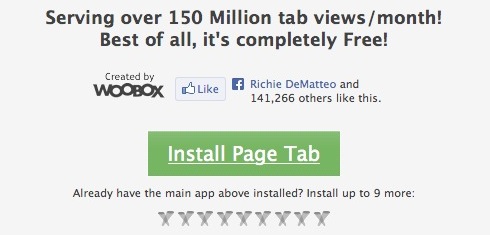
- Search for Static Iframe Tab within Facebook and select it [you’ll see a few with over 1 million users, these are all variations of the same thing so you can add multiple tabs, if you’re in doubt use the one pictured below.]
- Click Install Page Tab button on the next page
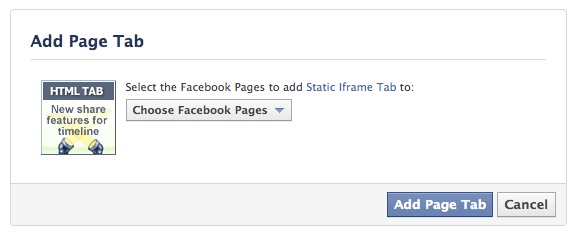
- Grant any permissions being requested by the application
- Select the Facebook Page [has to already exist] you’d like to add a tab to
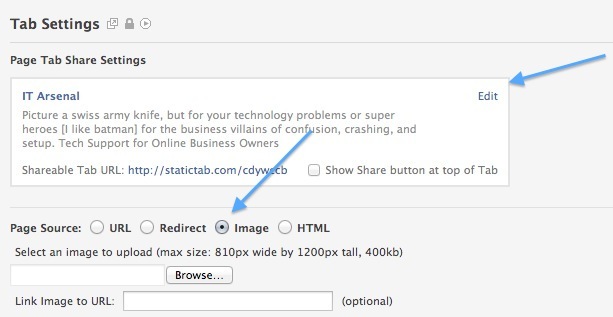
- Configure the tab settings to your preferences and click “Save Settings” at the bottom. [remember, if the Page Source: HTML, URL, and Redirect options don’t make any sense to you, you can select image, upload an image, and give it webpage to go to when people click it]
- After you hit “Save Settings”, your tab will be live, and on your Facebook Page
- Customize the tab image by loading your Facebook Page, clicking the down arrow next to the tabs, mousing over the new tab, clicking the pencil icon and selecting “Edit Settings”. On the pop-up window, click “Change” next to Custom Tab Image. Your image size should be 111 wide x 74 tall pixels.
How To Video
Tip: If you have someone else manage your Facebook Page, they will need to have the “Manager” admin role to do this, and in order for the tab to stick around if they we’re ever to be removed as a manager, another manager needs to have the “Static Iframe Tab” [or whichever variation app you chose] installed and permissions granted.
You’re done! Enjoy the increased engagement and connectivity between your Facebook Page and your business.
As always, I hope this was truly useful, if it was, please consider sharing it using the buttons below!


